Import your contacts from a CSV file
Learn how to prepare a CSV, run an import, track its progress, and understand how maxclicks matches contacts.
On this page
Bring an existing list into your contact schema, with one person per row and stable identifiers. Valid rows can create contacts or update existing ones. The import runs in the background; inspect the saved profiles and failed rows before using the audience.
This article covers preparing the file, running the import, handling failures, and how maxclicks decides whether a row is a new contact or an update to an existing one.
Before you import
An import succeeds or fails on how your file is prepared. The single rule that trips people up is the header rule.
The quickest way to get the headers right is to let maxclicks write them. Open the import dialog and choose Download sample CSV. The file arrives with a header row of your schema's exact attribute keys and one example row underneath: delete the example, paste your data in, and upload it back.
A file can be up to 50 MB and 500,000 rows.
If you would rather prepare the file yourself:
- Open your schema in Settings, then Schemas, and note the exact key of each attribute you want to fill. Base keys include
email,firstName,lastName,phone, andtags. - Set your CSV headers to those exact keys.
- Put one contact per row. Leave a cell empty for any value you do not have.
- Include the built-in
emailfor people you want to email. If your product identifies them withuserId, include that stable value consistently: it takes priority over email for matching. - Separate multiple values in one cell with a semicolon.
tags,subscriptions, and any list attribute are split on;, sovip;ukis two tags. A comma is part of the value, not a separator.
Use a Contact schema for a file of people. Import orders, subscriptions or accounts into the matching Object schema through Settings → Schemas → Import, with one business thing per row and a stable externalId. Matching identifiers and an evaluated relationship connect those objects to people; importing the files alone does not define a relationship.
Read-only fields, including source, timestamps, evaluated and scheduled evaluated attributes, are omitted. Blank cells leave existing values unchanged. Use explicit true and false for boolean fields: the standard importer interprets other nonempty text as false unless it is yes, 1 or on. Inspect important values after import even when all rows succeed.
During onboarding, maxinja can inspect a CSV sample and propose a mapping for different headers. Review and refine the plan before starting that mapped import. This is separate from the standard dialog, and the sample does not validate every row. The complete import guide explains both paths.
Start the import
You import from the records table for the schema you want to fill.
- Open the schema's records
Open Records in the top bar and choose the contact schema you are importing into, such as Customers. You can also start an import from the schema in Settings, then Schemas.
- Choose to import a CSV
Select the CSV import action and upload your prepared file. The dialog also offers Tags, added to every contact in the file, and a Subscribe to email by default checkbox, unchecked to start with. It supplies the subscription only for newly created contacts whose row omits
subscriptions; an explicit row value wins. Only check it if you have explicit consent to email everyone in the file. - Confirm and run
Choose Upload CSV and start import, then select the file. Uploading and creating the job are separate progress steps. Once the job is created, it runs in the background without keeping the page open.
Track progress and handle failures
Because imports are asynchronous, maxclicks reports on them as they run and updates in real time.
- Watch the progress
The import shows live progress as it works through your rows. Because everything updates over a live connection, the count climbs on its own without a refresh.
- Cancel if you need to
Cancel a pending or running import to stop further processing. Records already committed remain; cancellation does not undo the import.
- Review the failure log
Inspect up to 20 failure samples and download the failure log from the run. The downloaded log holds up to 10,000 detailed failures and reports an omitted count beyond that, even where the button says Download full failure log. Common causes include a missing required value, invalid type or conflicting identifier. Correct affected rows in a new file.
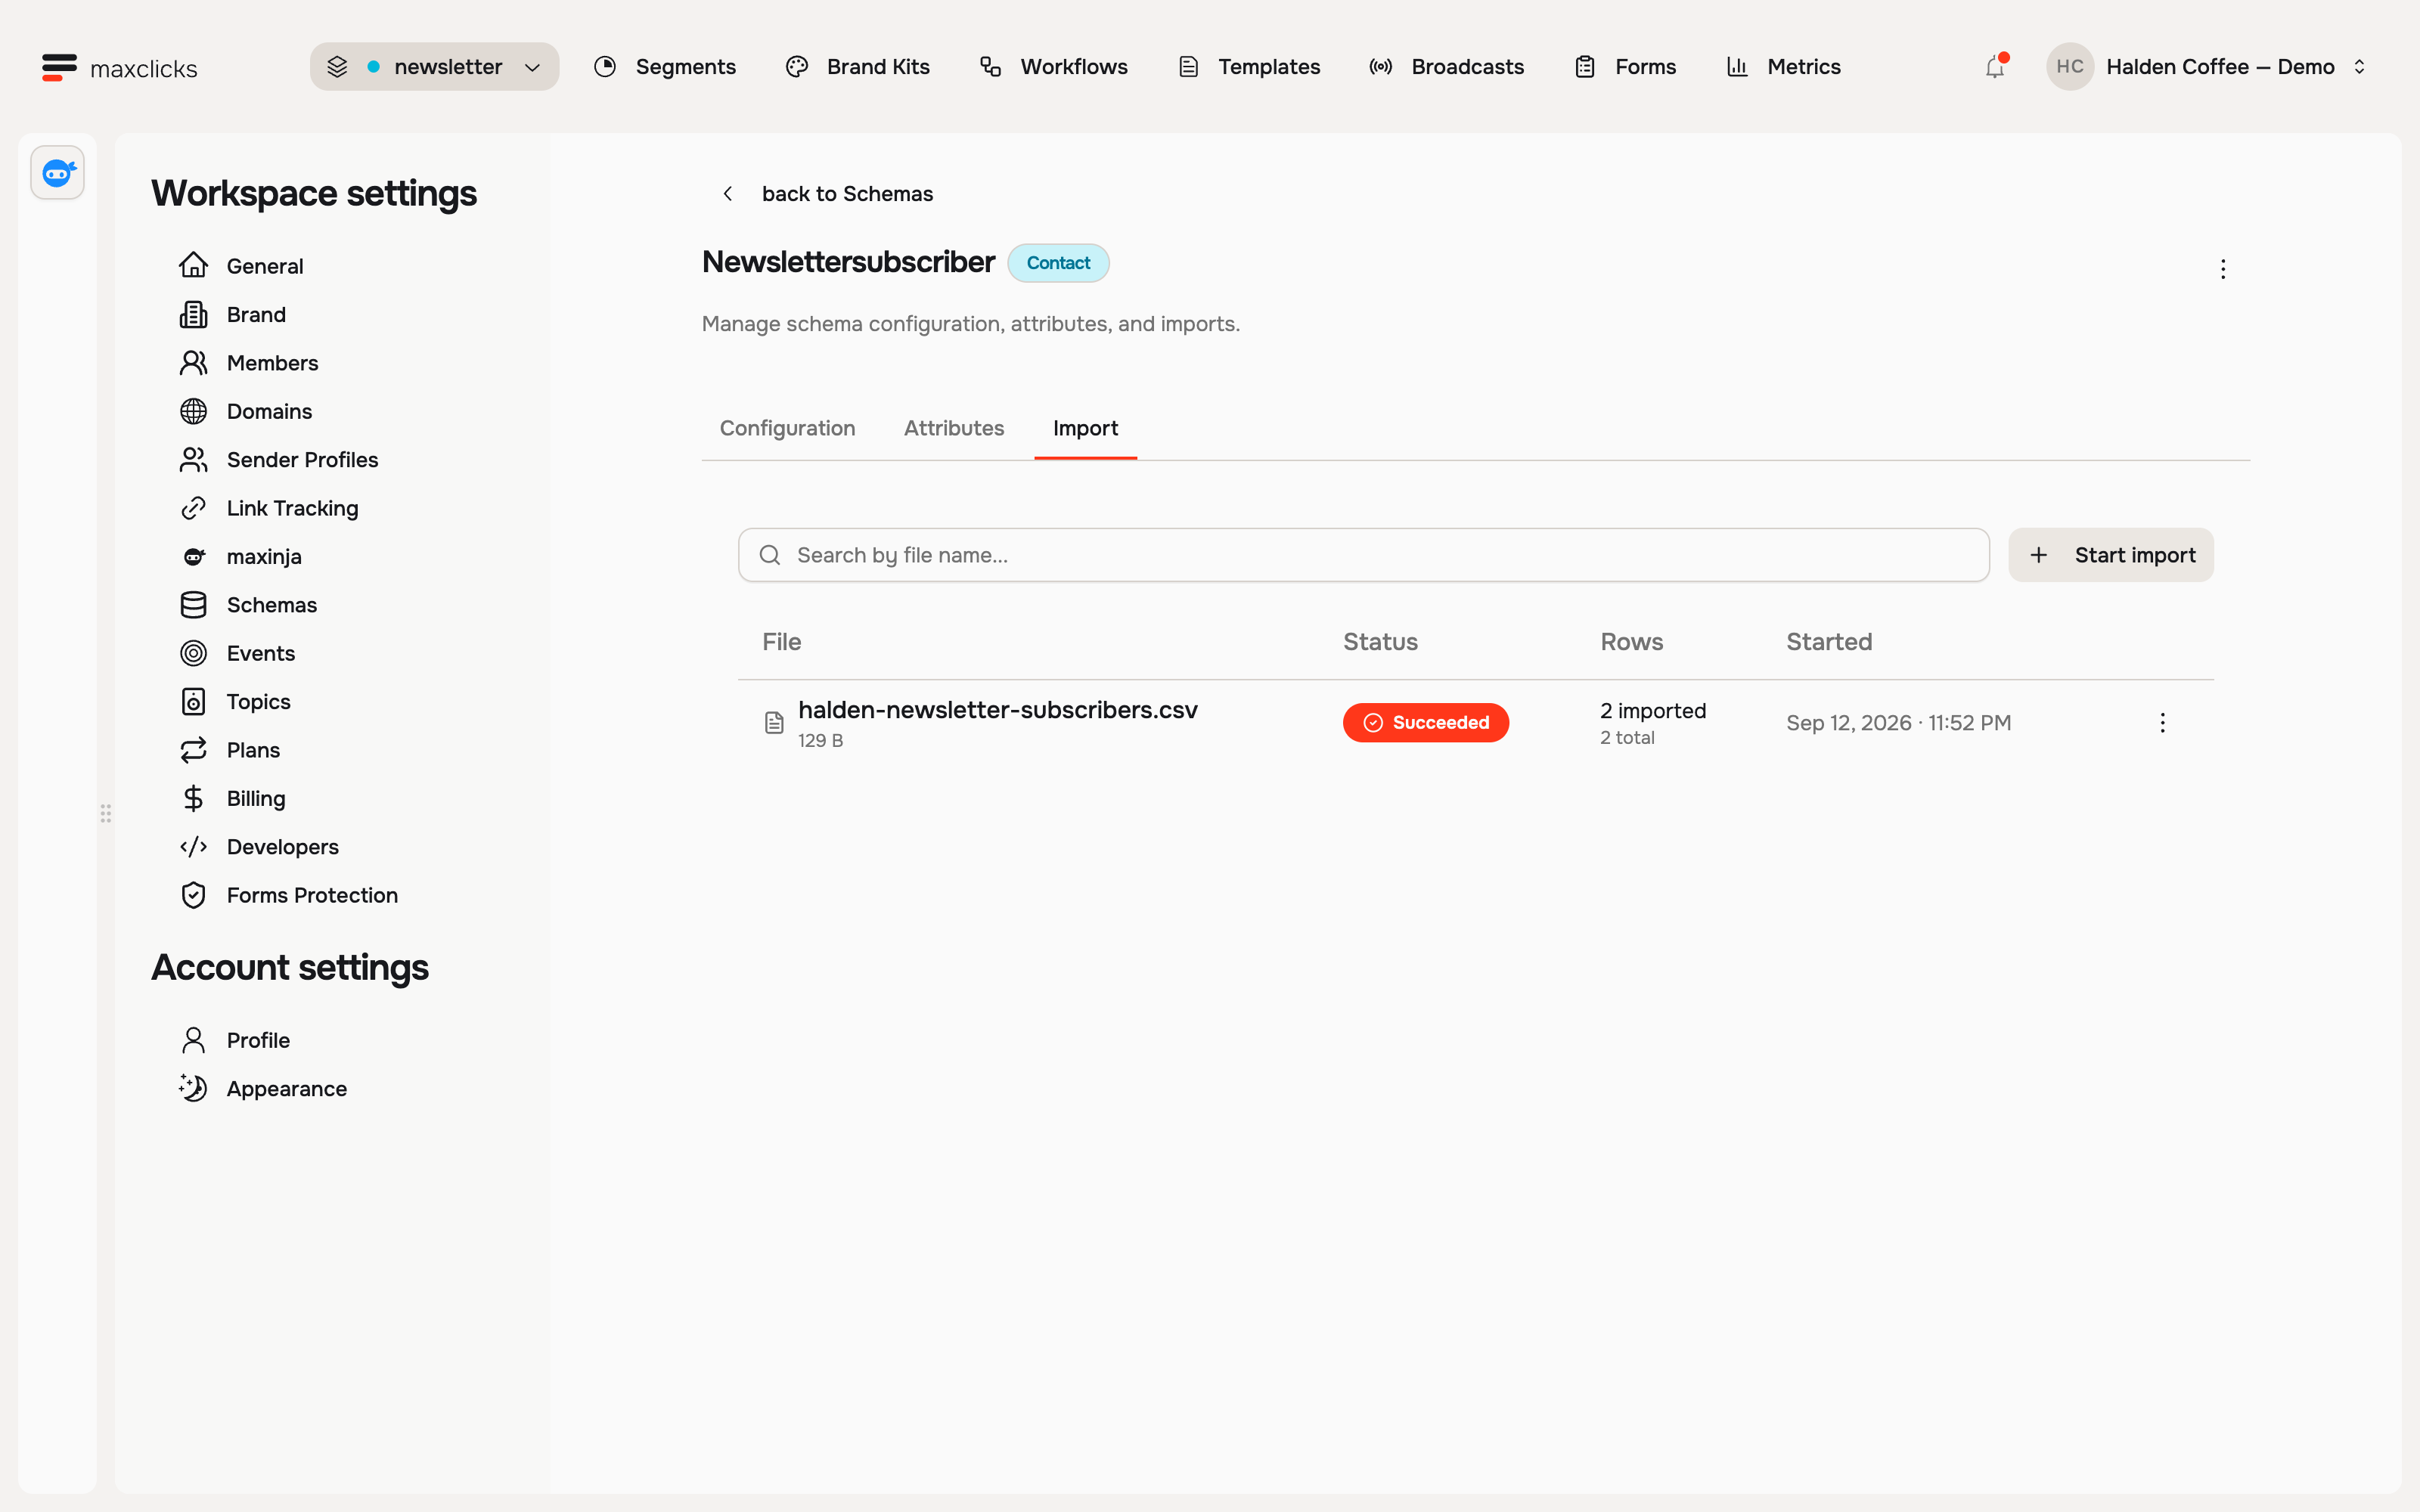
Runs show Pending, Running, Succeeded, Partial, Failed or Canceled. Invalid rows can fail independently while valid rows proceed; a source-level error or exceeding 500,000 rows can fail the run. Succeeded means no processed rows failed, not that every header matched: the current table does not show per-column omissions.
Test a small file with one new contact, one intended update and an optional blank first. Inspect their stored values, identity and preferences before loading the rest. Creation defaults and AI autofill apply only to new records, not matched contacts.
How maxclicks matches contacts
An import is an upsert, not a blind insert. For each row, maxclicks decides whether it matches a contact you already have, and updates that contact, or creates a new one. It uses a fixed identity order:
- If the row has an
id(the maxclicks contact ID), match that exact contact. Anidthat matches nothing is reported, never created. - Otherwise, if the row has a
userId, match the contact with the sameuserId. - Otherwise, if the row has an
email, match a contact with that email that has nouserId. - Otherwise, if the row has a
phone, match a contact with that phone that has nouserIdand noemail. - Otherwise, create a new contact.
Keep the selected identity consistent. This is a priority rule, not a search across every identifier: a new userId can create a separate profile from an email-only contact. A CSV row with conflicting identifiers fails as a whole; it is not partly applied and profiles are not automatically merged. Resolve the source mapping before retrying.
Custom attribute values are merged into the contact. An empty cell is skipped rather than applied, so it leaves the existing value untouched. An import can set and change values, but it can never clear one.
Consent and imported contacts
Importing a list has consent implications, so handle it deliberately. Three rules decide what an imported contact is subscribed to.
- A row's own
subscriptionsvalue always wins. Set it toemailto subscribe that person, and the checkbox is ignored for that row. - If the row leaves
subscriptionsempty, a contact the import creates is subscribed to email only when Subscribe to email by default is checked. Leave the box unchecked and new contacts arrive subscribed to nothing. - A matched contact keeps its existing subscription when the row omits
subscriptions; an explicit row value can change it.
Only import people who have genuinely agreed to hear from you. If you are unsure about part of your list, leave those rows out of the file and collect consent first.
Contacts created by the import receive source import; matched contacts retain their original source. Consent changes are recorded in the audit trail. To learn more about consent overall, see understand transactional vs marketing.
Imported contacts and objects both count toward the plan's record allowance. See How billing works.
Once you have checked identities, imported values and preferences, group contacts into audiences. Read add and edit contacts to manage them by hand, and create a segment to build filtered audiences.
Did this article answer your question?