Loading the guide…
Set up your first space
Learn how to create a space, add your brand and sending domain, and define your first contact schema.
On this page
A space is your business workspace in maxclicks. After you sign in and complete your profile, maxclicks walks you through a short setup wizard that creates your first space, brand, and sending domain, and defines your first contact schema. This guide covers each step so you finish with a workspace that is ready to hold data and send email.
What a space is
A space holds everything for one business: members, brand, contacts, segments, broadcasts, workflows, forms, domains, and billing. Each space has its own URL slug and its own billing identity.
You can create and belong to more than one space. Additional spaces use the same setup wizard, so this guide applies whether it is your first space or your fifth.
Create your space
The setup wizard has three steps. Work through them in order.
- Name your space
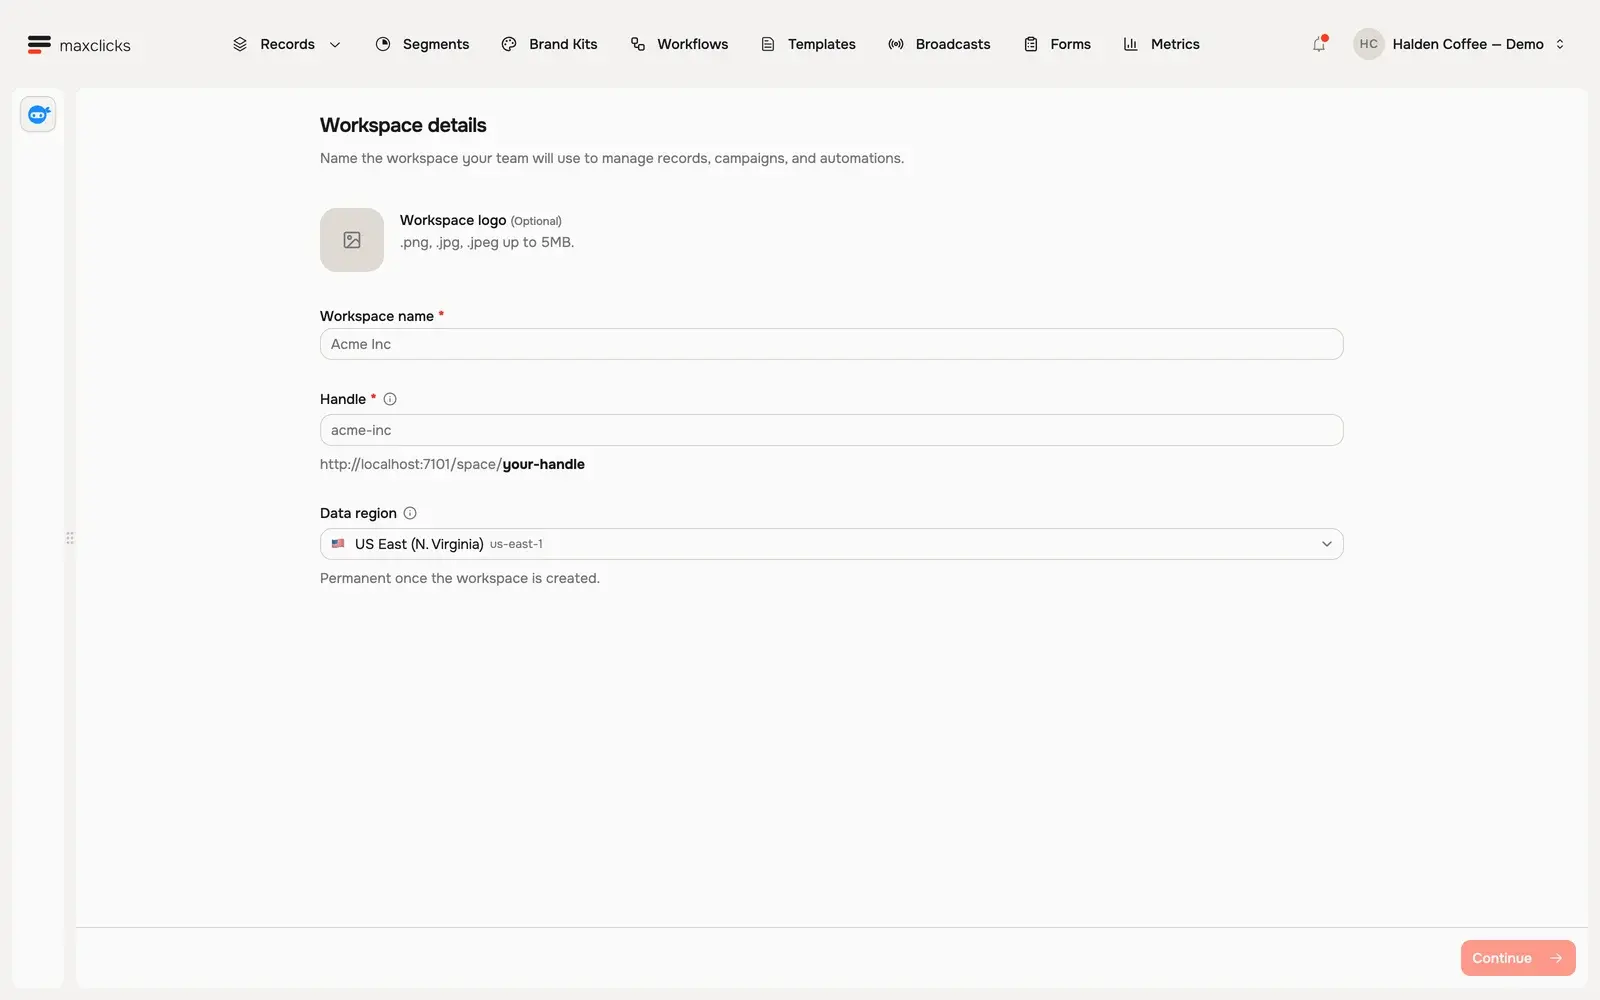
Enter a name for your business in the Workspace name field. maxclicks suggests a handle from the name; edit the Handle field if you want a shorter or clearer one. The handle appears in your workspace address and has to be unique across maxclicks, so keep it simple.
Then pick a Data region. Your contacts, records, and files are stored there. Choose the region closest to your customers, or the one your compliance rules require.
- Add your brand and sending domain
Add your brand details in Brand name, Website, and Business address. The address is the physical mailing address that anti-spam law requires in the footer of your marketing email. Add a logo and icon if you have them.
Then fill in Sending domain. maxclicks suggests a subdomain, such as
mail.example.com, which keeps your root domain's reputation separate from your marketing mail. maxclicks creates the domain and shows you the DNS records to add next. - Create your first contact schema
A contact schema defines the shape of the people you message, such as Customer or Subscriber. Give it a name and continue. maxclicks adds the standard fields (email, first name, last name, and more) for you.
When you finish the wizard, your space opens. The first contact schema you create becomes the space default, and you cannot delete your last contact schema.
Verify your domain before you send
Adding a domain during setup does not make it ready to send. You verify it by proving you own it.
- Add the DNS records
Open Settings, then Domains, and select your domain. Copy the SPF, DKIM, DMARC, and return path records shown there, then add them at your DNS provider.
- Start the verification check
Back in maxclicks, choose Start verification check. A background job then checks your records roughly every 90 minutes and marks the domain verified once they resolve. Opening the domain re-reads its status immediately, so you do not have to wait for the next run.
For the full walkthrough, including how to recover a domain that was un-verified, read verify your sending domain.
What happens after setup
Your space tracks a few defaults that pre-fill inputs across the app: a default verified domain, a default sender profile, and a default contact schema. The first domain you add becomes the default domain, and the first sender on it becomes the default sender.
You are the admin of the space you created. Admins manage members, billing, and the space name and slug. You can invite teammates and set their roles at any time from Settings, then Members.
From here, a good next step is to add the fields your business needs to your contact schema, then bring in your people. Learn how in create your first contact schema and understand schemas, contacts, objects, and events.
Frequently asked questions
Can I create more than one space?
Yes. A user can belong to several spaces, and each additional space uses the same three-step setup wizard. Switch between your spaces from the space menu in the top bar.
Do I have to verify my domain during setup?
No. You add the domain during setup, and verification happens afterward, once you add the DNS records at your provider. Until it completes, nothing sends from the space, including test emails.
Can I change my space name or slug later?
Yes. An admin can change the space name and slug from Settings. The slug is part of your workspace address, so update any saved links after you change it.
Who can set up billing for the space?
Only admins can view and manage billing. When you create a space you are its first admin: set up billing right away, or invite another admin to handle it.
Did this article answer your question?